Cut STEP BY STEP
The Basic Cutting Method allows us to create all manner of styles, including those that are most in vogue. We will now create UNIFORM LAYERS in the nape, before moving on to GRADUATION. Take to the next level with Texturising and add character with Fringe detailing.
Tools used
-
PINTAIL COMB
Ideal for backcombing and sectioning hair, creating precise styles, taming unruly hair to create elaborate hairstyles.
-
FLAT BLADE SCISSORS
Held between the two blades, hair is cleanly cut.
-
FLAT OR PADDLE BRUSH
Large rectangular wooden brush with boar bristles and nylon monofilament, ideal for long/very long hair.
-
MEDAVITA BRUSHES
Teaching materials
Step by step
-

STEP 1
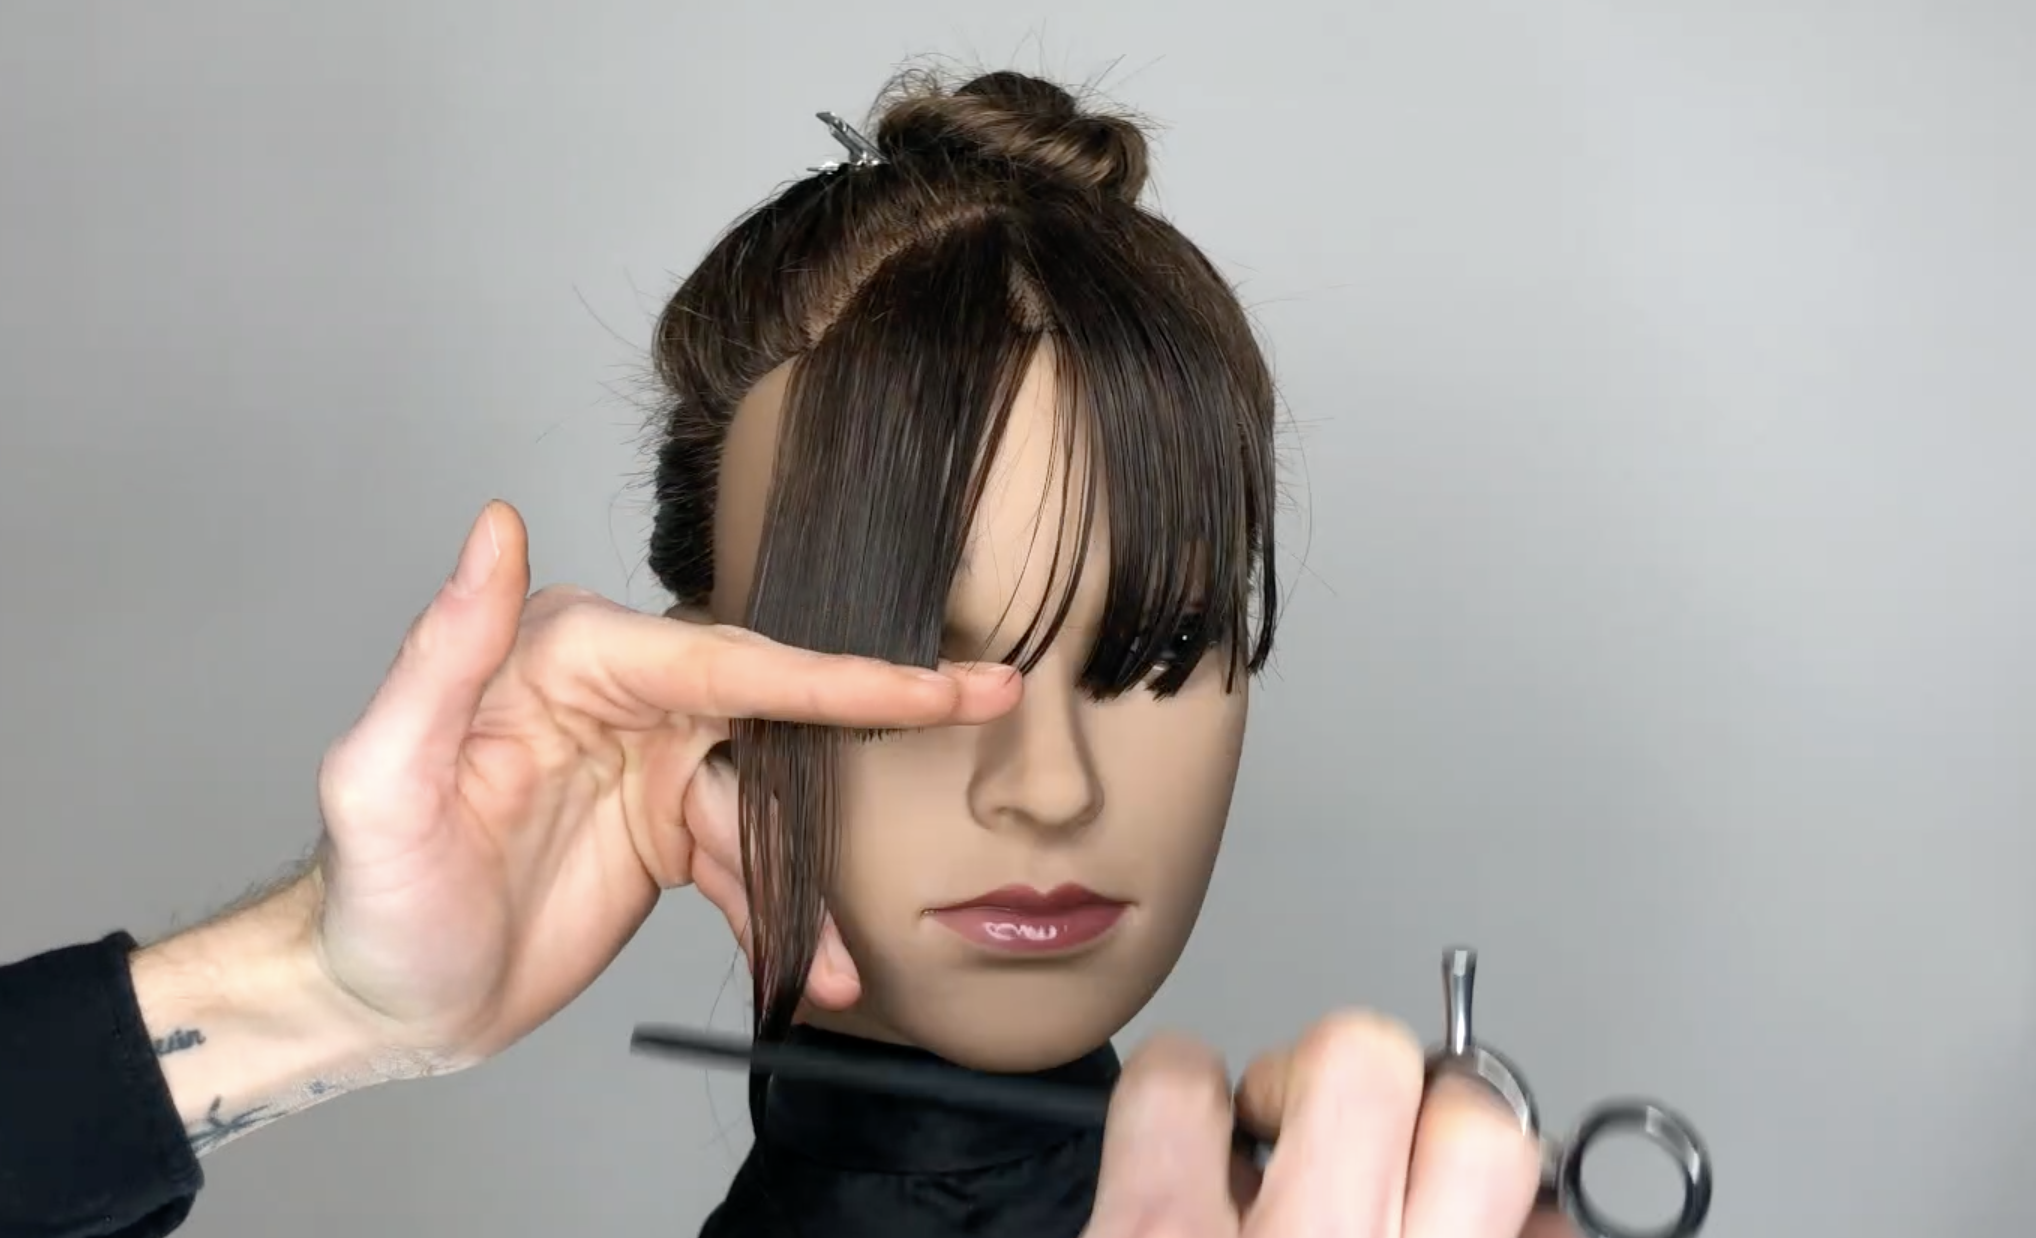
Create a long, full fringe, defining a triangle with the outer points of the eyebrows as the reference points
-

STEP 2
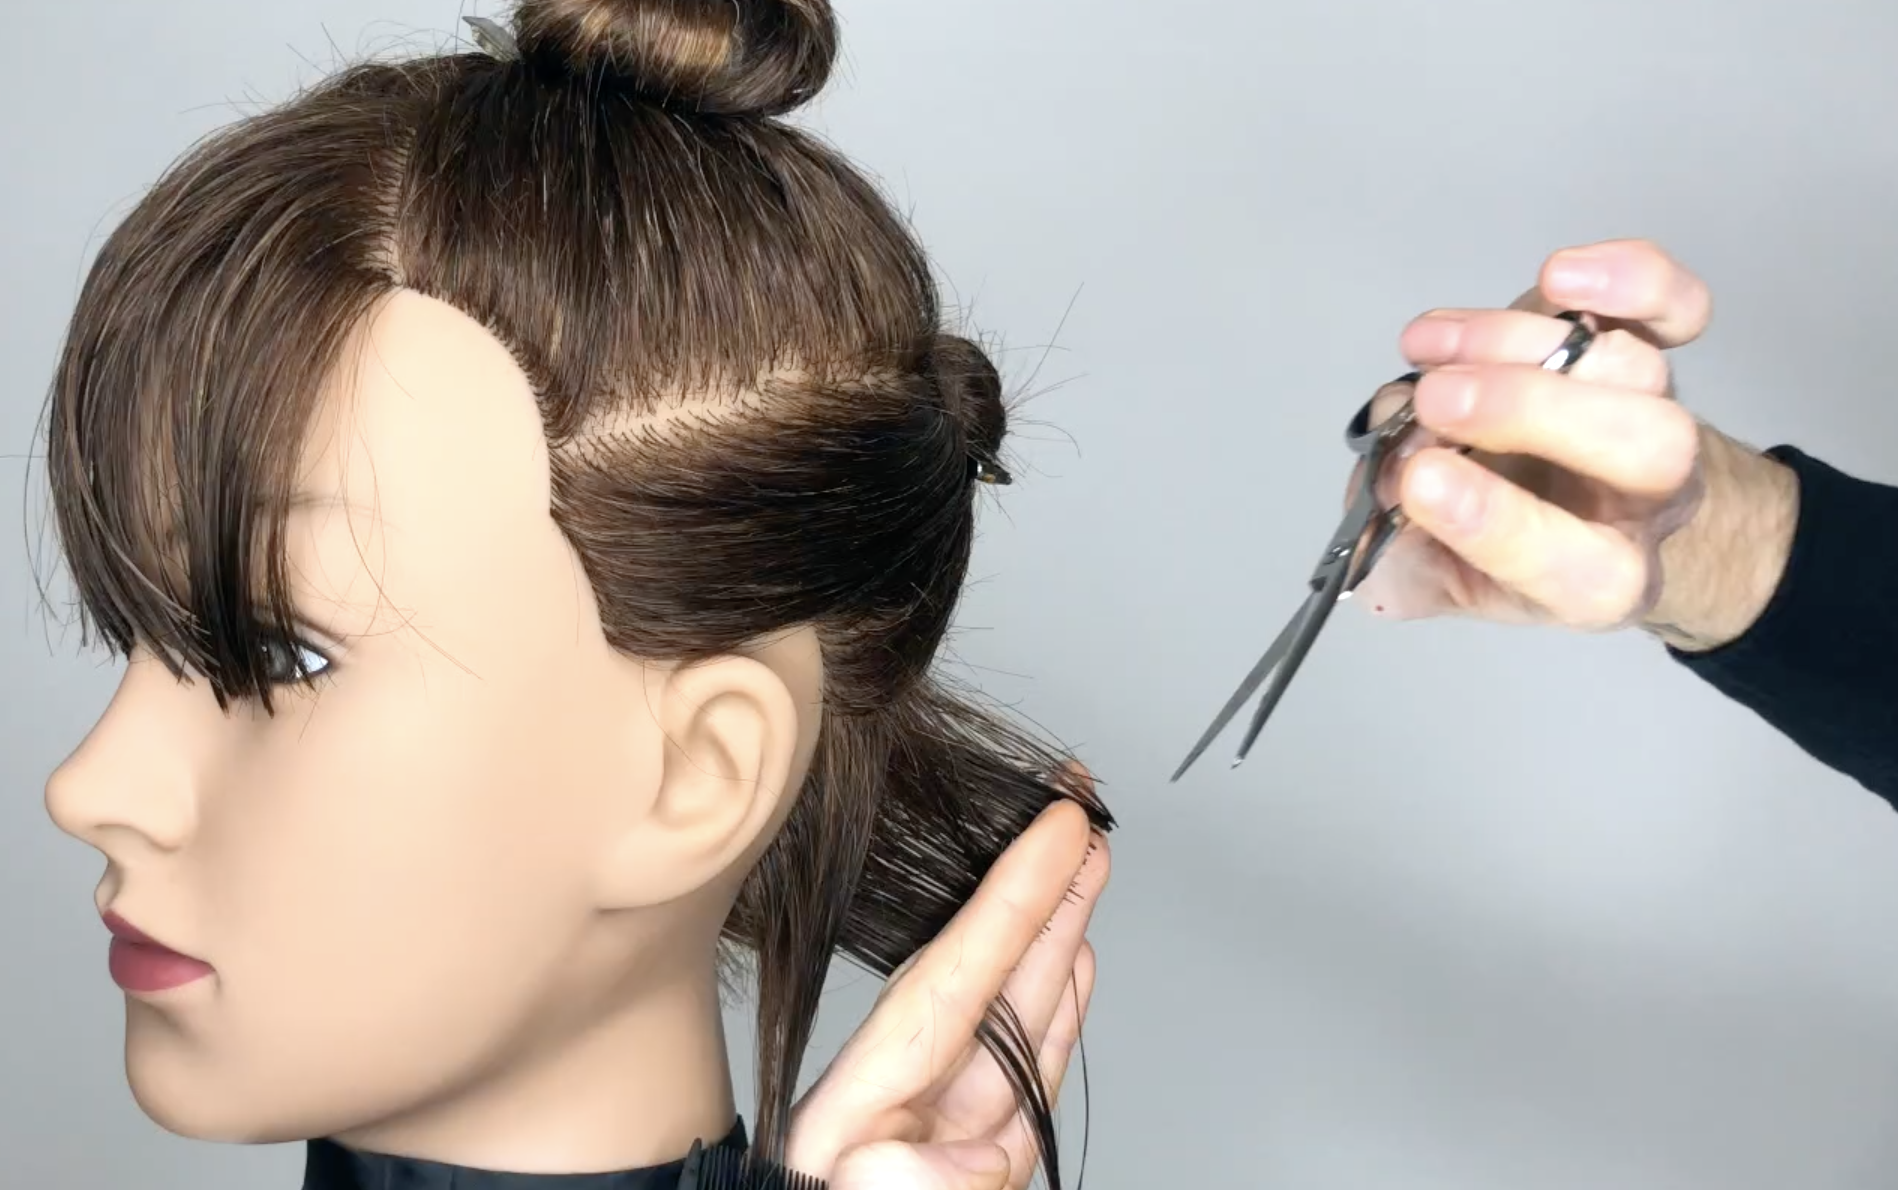
Create uniform layers in the nape, with vertical separations, perpendicular to the natural curve of the head. Cut the entire nape area using the Club Cutting technique.
-

STEP 3
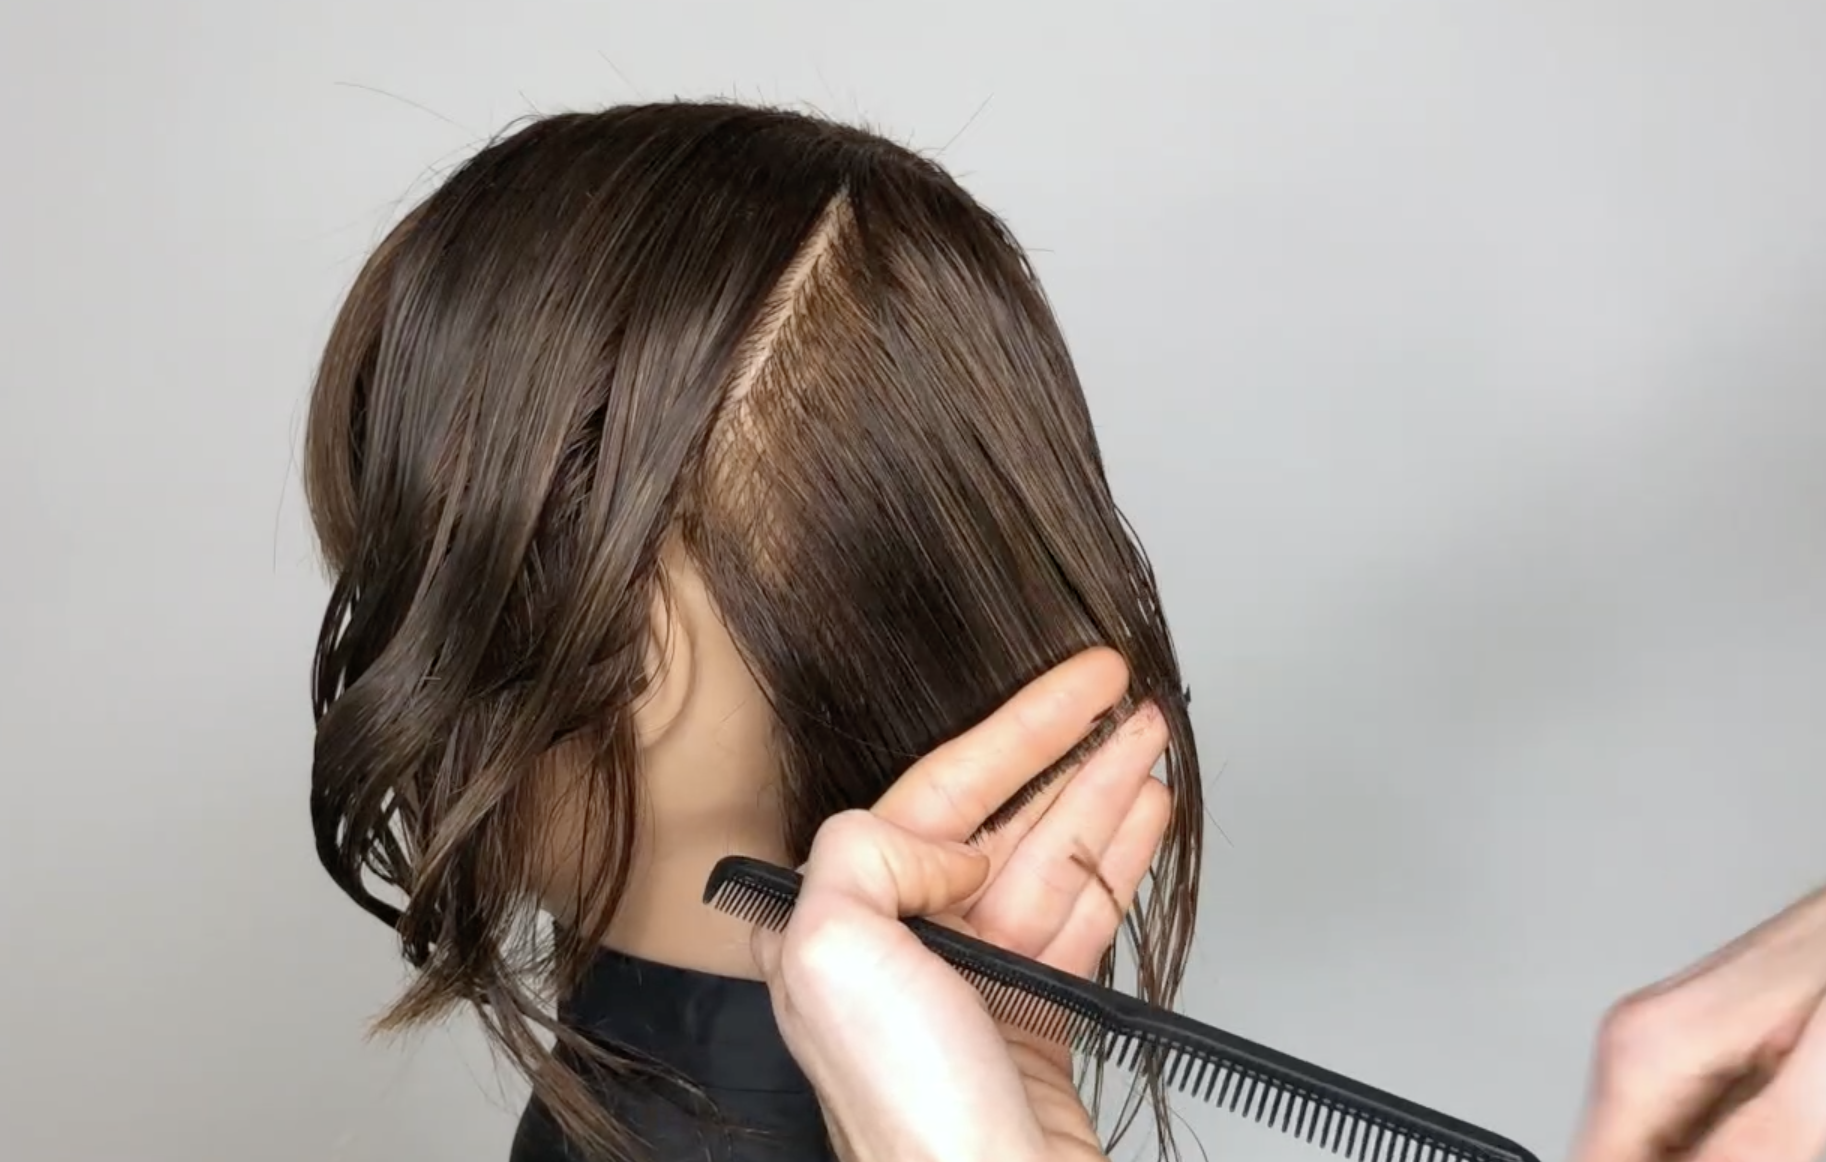
Move to the area below the crown and define the guide line, as far as the nape. This will create a graduated effect, which will also be replicated in the inner area. Continue to use the club cutting technique.
-

STEP 4
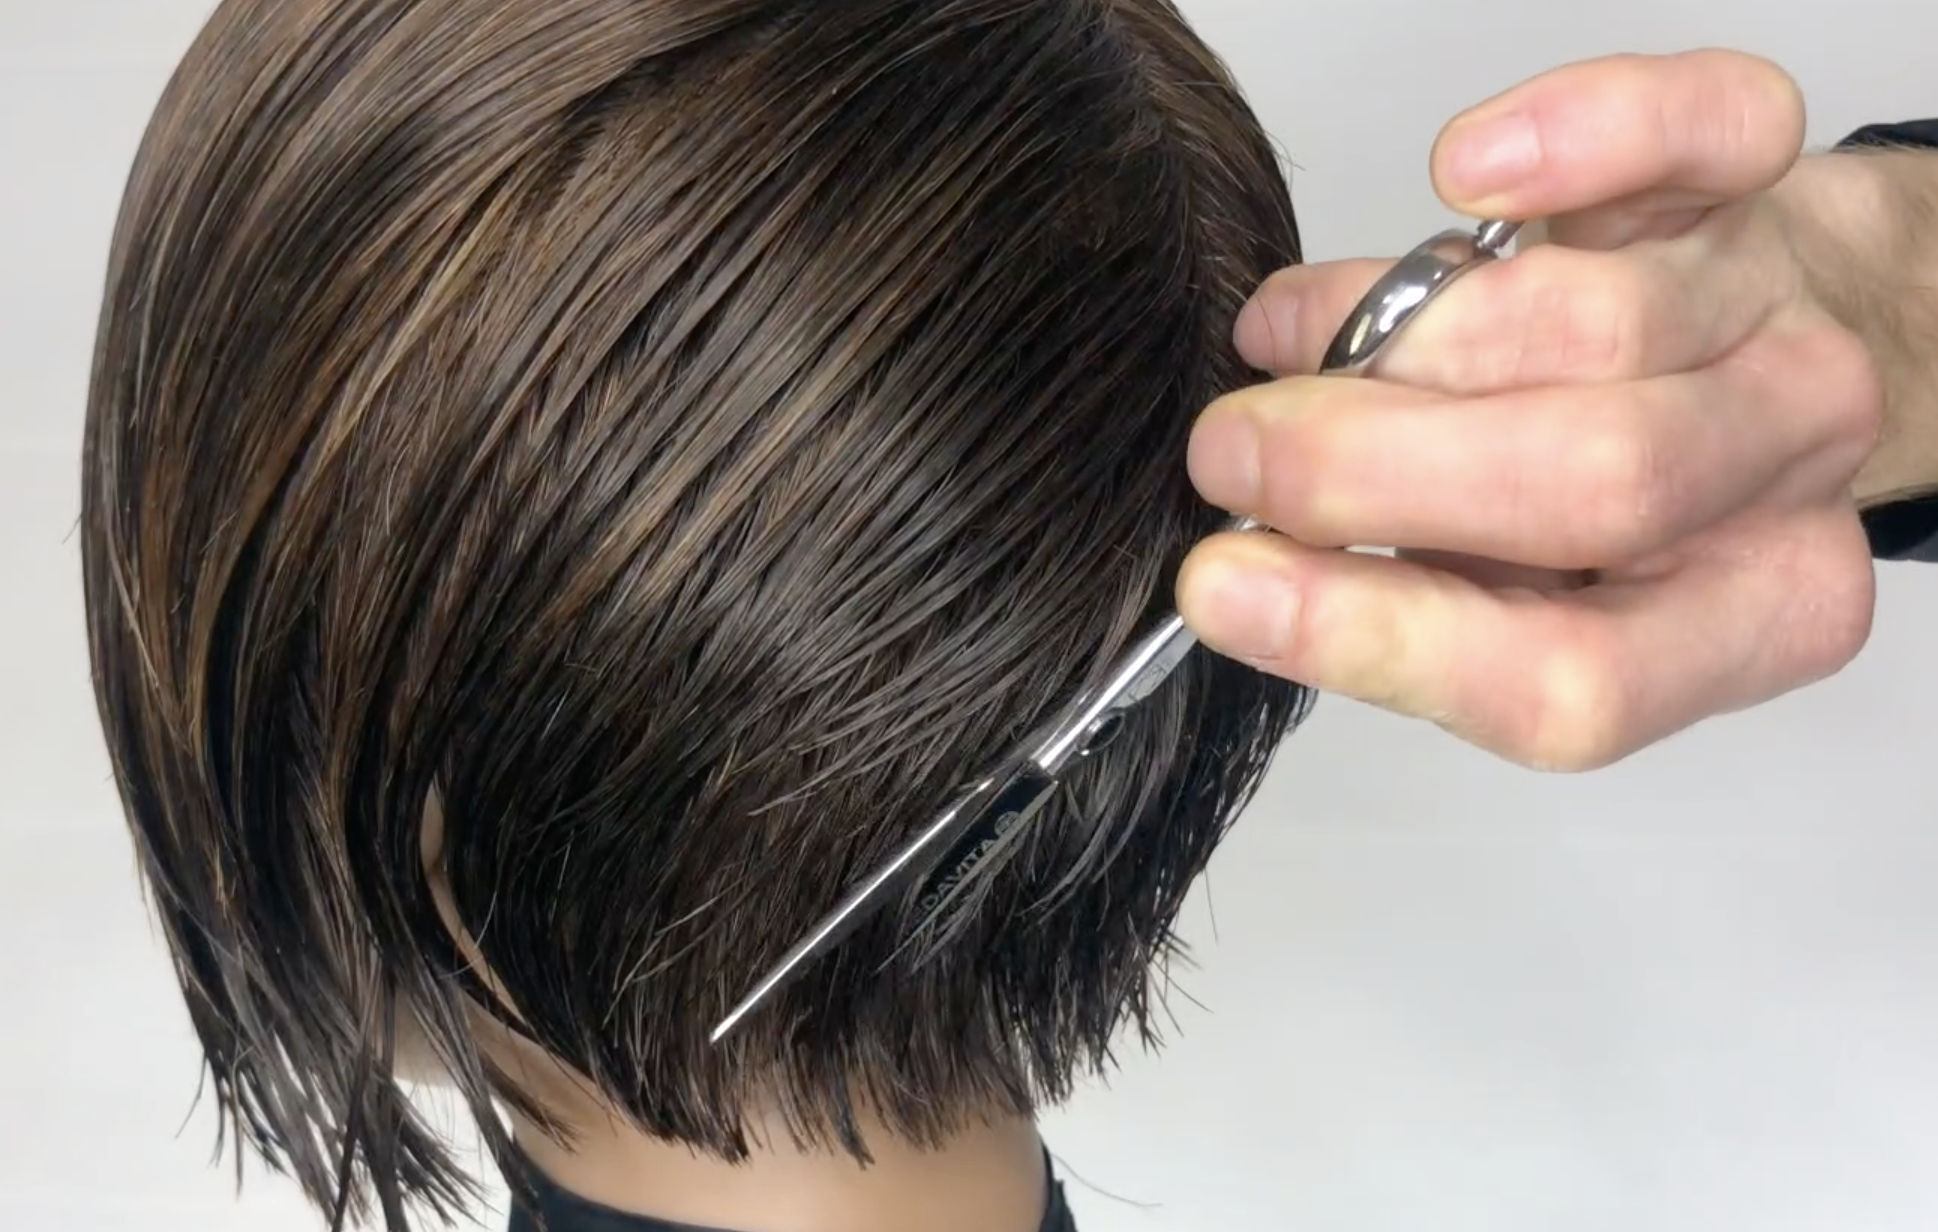
Next, texturise the hair, first at the nape using the Pen cutting technique, and complete using the Tapering Texturising technique.


Validate your login
Sign In
Sign up and request your credentials to login in Medavita Professional
Create New Account